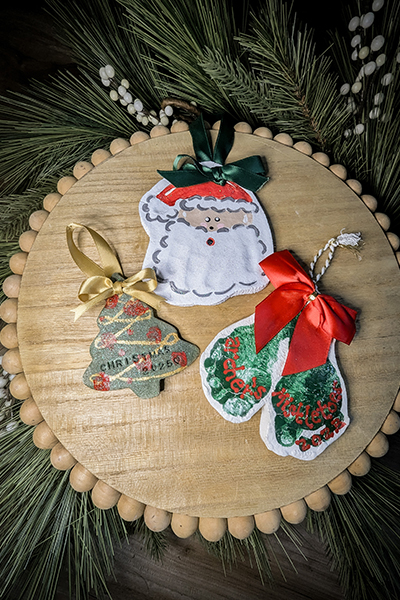
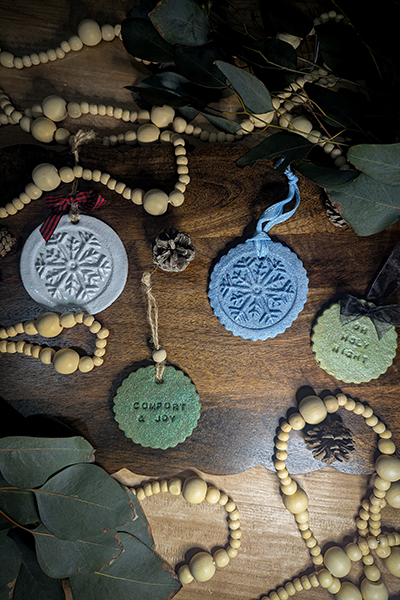
One of my favorite childhood memories is decorating my grandma’s tree because I got to see ornaments my father, aunt and uncle made as children. I hope my nostalgia for homemade ornaments is inherent in my own children—and that you find as much joy in this fun holiday project as I do. Use these beautiful salt dough ornaments as thoughtful DIY gifts from the kids or keep them for yourself and deck the halls! They only require three ingredients.
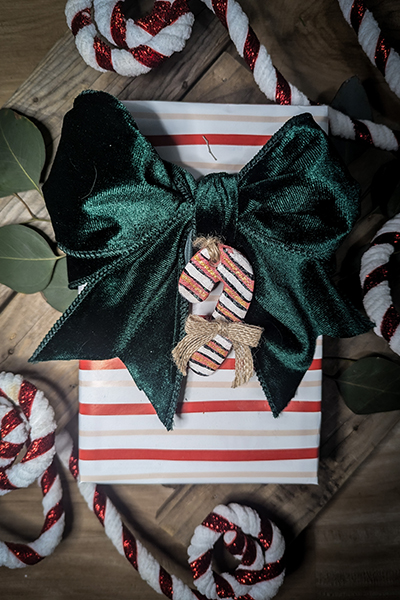
These special ornaments have many fun uses: Make unique embellishments for wrapped packages or gift bags, create sentimental gifts using your child’s handprints or baby’s footprints, or craft cherished keepsakes to decorate your own home or Christmas tree. I love having a small tree just for kids to decorate. Homemade ornaments are a resourceful and heartfelt way to decorate their own tree without spending a fortune.
Get the whole family involved! Gather supplies, turn on your favorite holiday tunes and start crafting. As an added benefit, letting kids get their hands dirty with flour and paint encourages creativity, enhances confidence and helps develop fine motor skills. (All photos taken and provided by Jennifer Garcia.)
Ingredients
2 cups flour
1 cup salt
1 cup warm water
Directions
- Mix ingredients until thoroughly combined.
- Roll out dough to ¼-inch thickness. (Note: The thicker the ornaments, the longer the drying time.)
- Use cookie cutters or stamps to shape and cut the dough as desired.
- Punch a hole in the top of each ornament with a straw.
- Lay ornaments on parchment-lined baking sheet. Air dry ornaments for until hard (2–5 days) or bake at 200 degrees for about an hour. Turn ornaments over halfway through drying or baking time.
- Find inspiration in the “Optional Tools & Decorative Elements” list and decorate as desired.
- Sign and date back of ornaments before sealing with protective coating.
- Allow to dry before adding a string or bow for hanging.
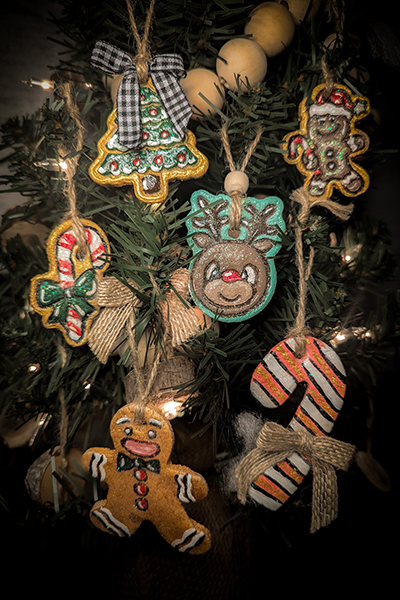
Optional Tools & Decorative Elements
- Cookie cutters and cookie stamps: Create or emboss fun shapes and whimsical words on the ornaments.
- Precision knife for parents: To shape around handprints or footprints
- Reusable straw: Makes a great hole punch.
- Non-toxic acrylic paint: If painting ornaments, let them dry or bake first, then paint.
- Food coloring: Create additional colors by mixing food coloring into dough before shaping.
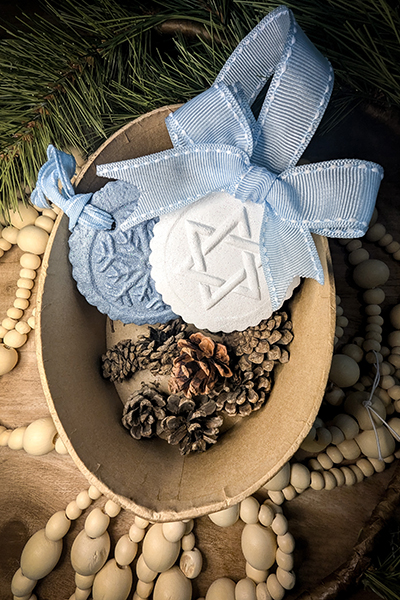
- Mica powder: A fine powder made from natural minerals that provides a shimmery, metallic effect. Pour a small amount onto shaped ornaments (before drying or baking) and use your finger to gently rub it into the dough. Use a clean, dry paint brush to even out the powder and remove excess.
- High grit sandpaper: To smooth out rough edges after drying or baking.
- Extra fine glitter: Dust onto ornaments immediately after applying topcoat for a lustrous effect.
- Protective coating: Modge Podge is a popular option, but I prefer to seal the ornaments with two coats of clear, semi-gloss spray paint for a smooth, even varnish.
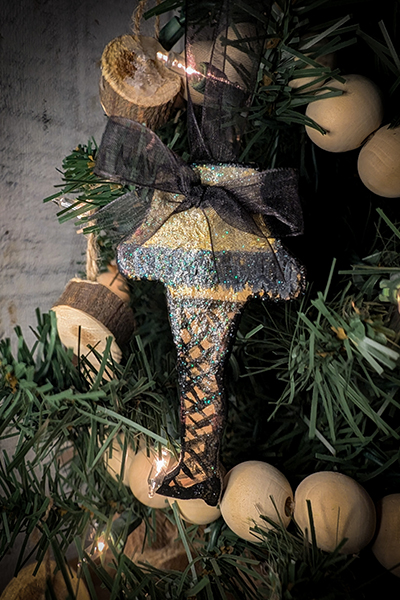
- Ribbon, bows or string: To make a hanging bow, tie a bow around an anchor point (like a candle or jar), then gently lift the bow off. With the bow in front of the ornament, gently maneuver the back loop of the ribbon through the hole.
- Twine and wooden beads: A rustic hanging alternative to ribbons and bows.

Handprint/Footprint Ornaments
After much trial and error, I found that the best way to get an even imprint of hands and feet is to use a foam brush to coat the hand or foot with non-toxic acrylic paint, then press it down firmly onto the dough. (Wash paint off hands/feet immediately.) Cut around the imprint for desired ornament shape.
Note about paint on hands/feet: There are mixed reports about using non-toxic acrylic paint on children’s hands. My son has eczema and we’ve never had an issue using it on his skin. But every child is different. If you have concerns, do a small patch test on the skin first. If you don’t want to use non-toxic acrylic paint, a good alternative might be washable, non-toxic tempera paint, but I don't have experience with those when making ornaments.
Jennifer Garcia is a toddler mom, wife, photographer and writer in Lakeside who is passionate about thoughtful and creative gift giving. Photo credit: Jennifer Garcia.


