Supplies
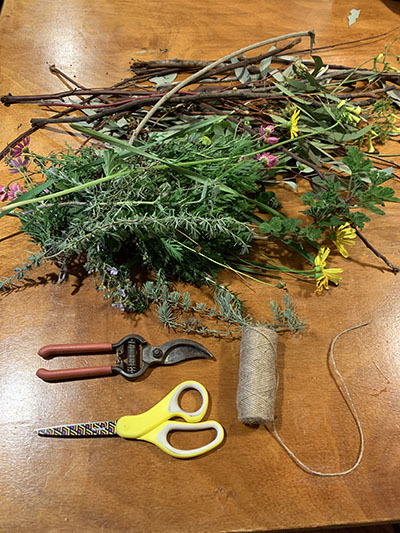
- Twigs or sticks, 6–12” long
- Garden clippers
- Scissors
- Twine or yarn
- Variety of grasses, flowers and plants with long stems. (I used buttercup, euryops, geranium, lavender, rosemary, eucalyptus, sorrel, narcissus, daisies, CA sunflower, sage and grasses.)
- Hot or white glue (optional)
Directions
- Cover your workspace with an opened large paper bag, placemat or plastic cloth.
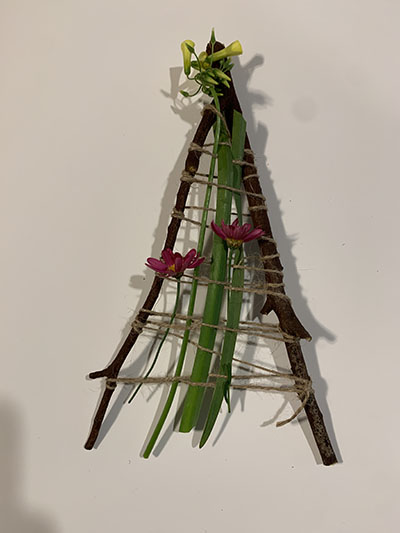
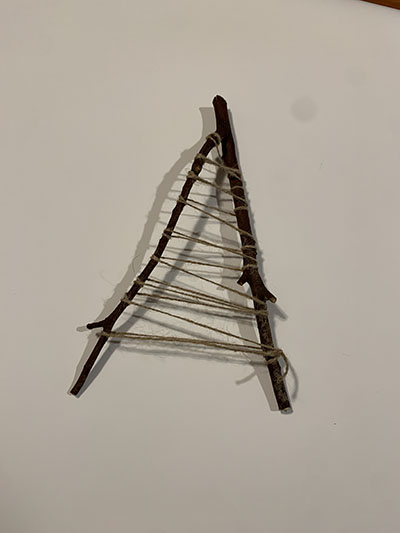
- Cut twigs to desired length to create shaped loom frames: Four even lengths for a square frame; two long and two shorter for a rectangle. For a triangle, find a twig with an “elbow” that looks “y” shaped (see photo).
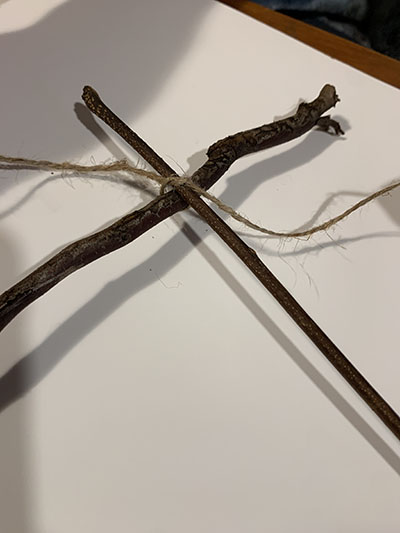
- Lay the twigs in desired shape and tie the corners together to make a frame. For more stability, add a dot of hot glue or white glue first. If using white glue, allow to dry completely before “warping” the frame.
- Next, add “warp” strings to finish the loom—these are the strings that will hold plants in place. Tie a piece of string to the bottom of your frame. Run the string back and forth, up to the top of the frame and loop it around the top twig. As an alternative, you could tie each warp string off in a knot and cut it (instead of running one string back and forth). Strings should be about one quarter inch to one half inch apart. Repeat until you get to the end of the frame, cut and tie off the twine.
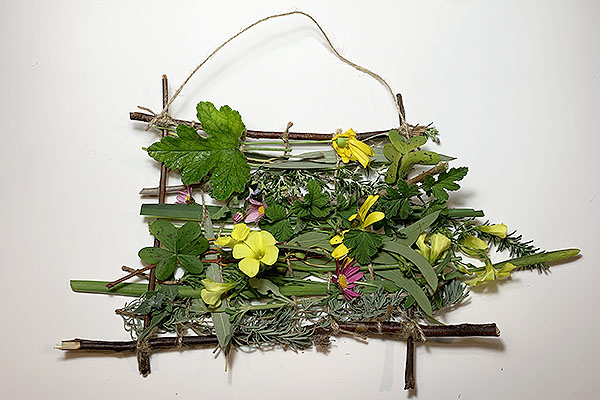
- Next, use the collected plants/grass/flowers to weave through the strings in the opposite direction. In weaving, these are called the “weft.” Start with the sturdy grasses and plant first. Weave each strand of grass over and under each string from top to bottom
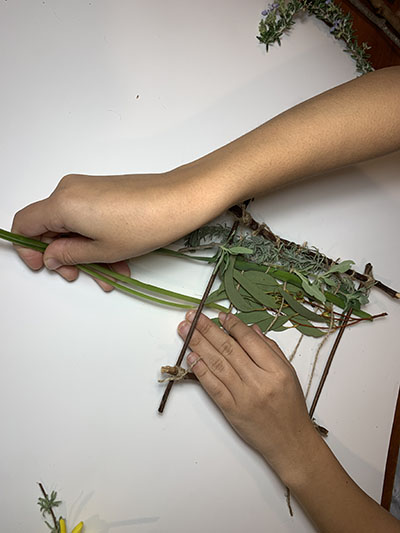
- Repeat with the next plant or grass, this time reversing the order from over under to under over.
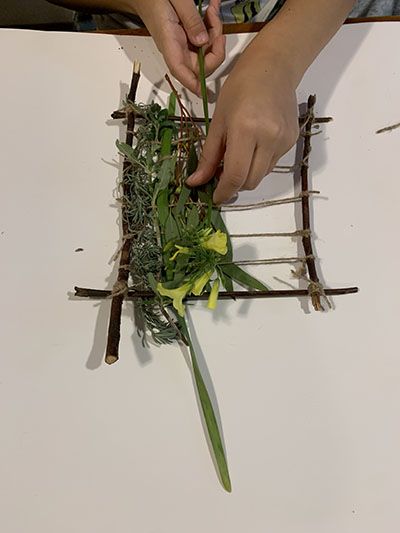
- Once you’ve filled the loom with sturdy grasses and plants, you can add the less sturdy items such as flowers by weaving their stems or tucking them in.
- You can choose to fill the entire loom with plants or leave spaces to show the twine.
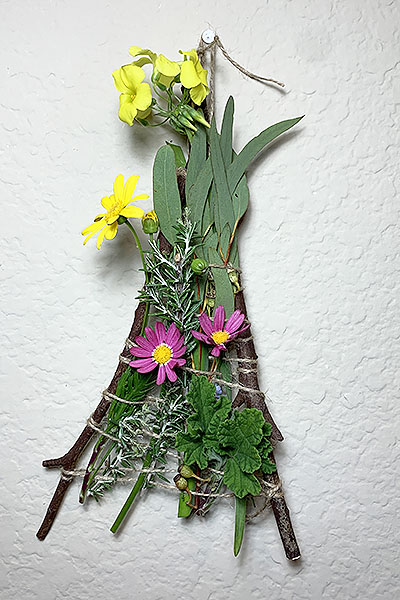
- Add a bit of looped twine to the top of your frame to hang up and enjoy!
Alyssa Navapanich is an award-winning art educator who teaches art to elementary school kids in East County.
______________


