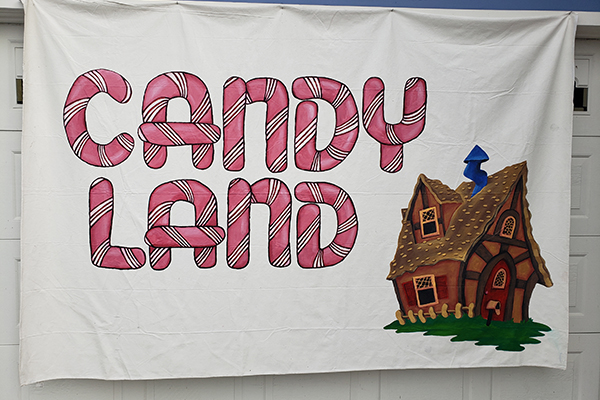
These pop art candy decorations were made to create an amazing Candy Land-themed house in Clairemont Mesa (San Diego). They’re inexpensive to make and have multiple uses as they can also be used as décor for Valentine’s Day parties, sweet 16 birthdays, Christmas trees, summer camp, vacation bible school, and as super fun photo props!
Hershey’s Kiss Yard Decorations
Supplies
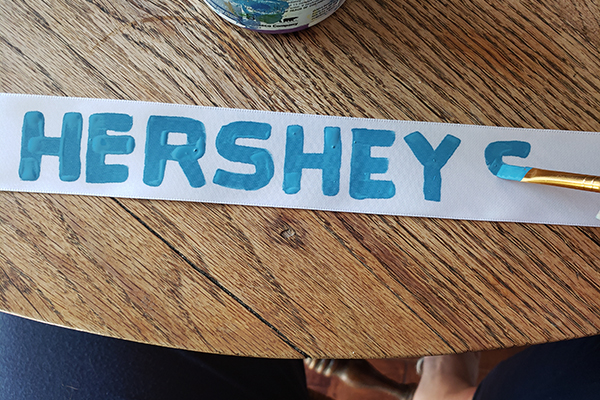
- White ribbon (1½ inches wide)
- Blue acrylic craft paint
- Flat tipped 1/8-inch paintbrush
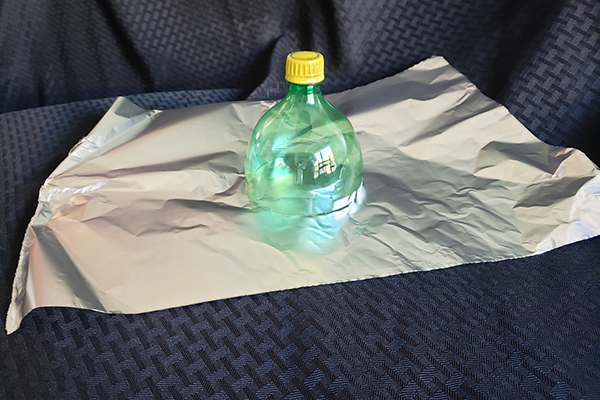
- One empty 2-liter plastic bottle (clean and dry)
- Scissors
- Tape
- Aluminum foil
Directions
- Paint the word Hershey’s on a 10-inch piece of ribbon. Allow to dry.
- Using scissors (or an X-Acto knife), cut off the top portion of the bottle, about one inch below the top of the label.
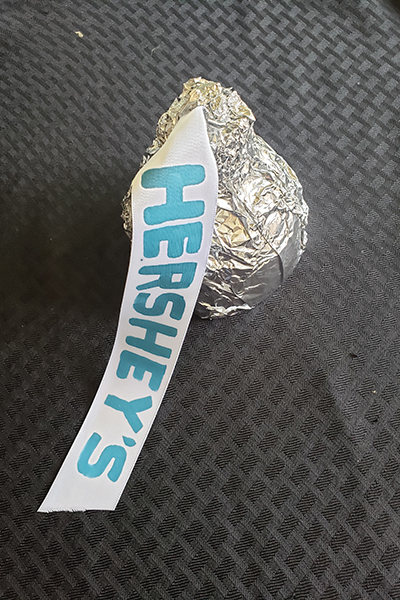
- Attach the dry ribbon to the neck of the bottle with tape.
- Using a 16-inch piece of aluminum foil, wrap the bottle and press to form a Hershey’s Kiss shape, allowing the ribbon to pop out of the top of the kiss.
Giant Gumdrops Yard Decorations
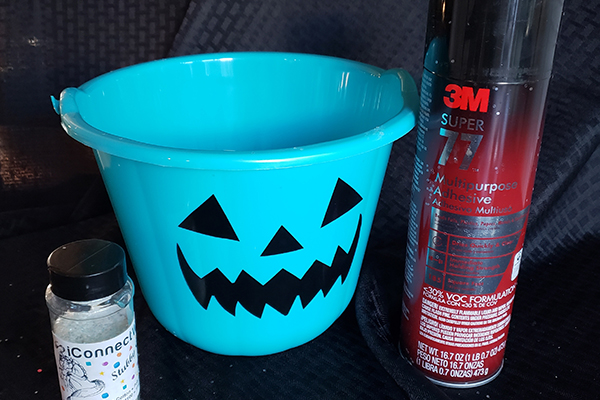
Supplies
- Round-bottom sand or treat pails (solid colors), clean and dry
- Spray adhesive
- Large jar clear glitter
- Acrylic spray glitter sealant (recommended if gumdrops will be outside)
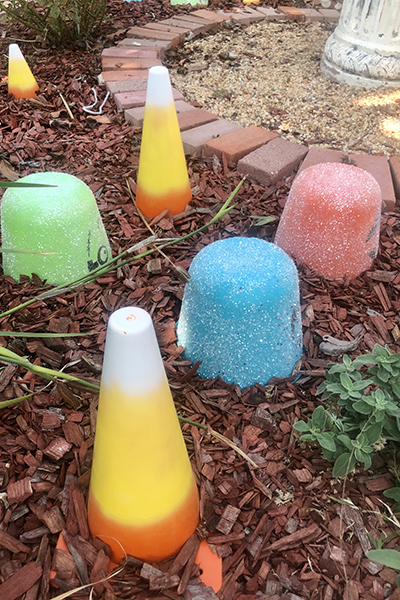
Directions
- If there’s a handle on the pail, remove it.
- Turn the pail upside down. Spray adhesive on half of the pail and immediately sprinkle glitter liberally all over the adhesive. Repeat on the other side. Allow to dry thoroughly.
- If the gumdrops will be outside, spray with acrylic glitter sealant.
- Note: If the pails have faces (like jack-o-lanterns), just turn them toward the house so that passersby don’t see the faces as they look at your yard.
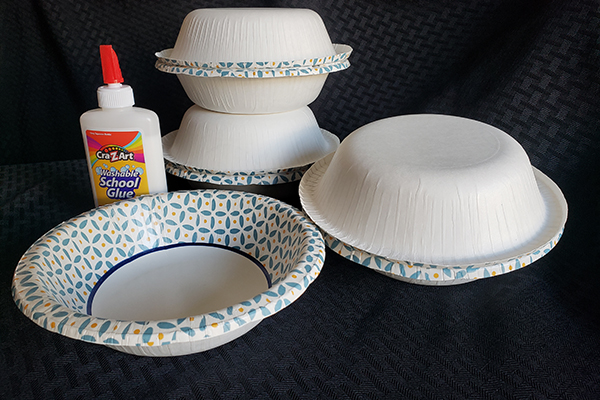
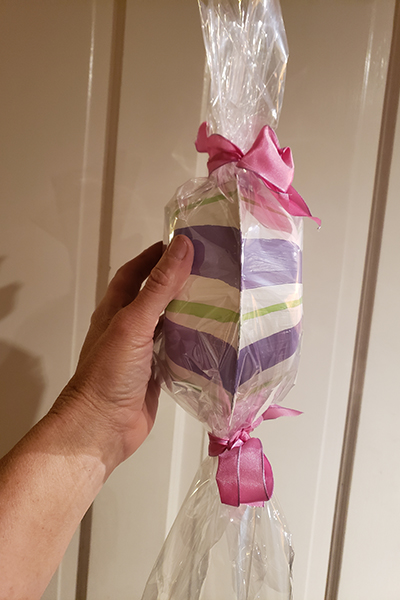
Peppermint Candy Yard Decorations
Supplies
- 2 paper soup bowls (for each candy you plan to make)
- White craft glue
- Acrylic craft paint (one or two colors of your choice; we used green and purple)
- Paintbrushes
- Ribbon in coordinating color
- Clear cellophane
- Clear tape
Directions
- Glue the rims of two bowls together for each giant candy. Allow 24 hours to dry.
- While those are drying, cut two 12-inch pieces of ribbon for each candy.
- Once “candies” are dry, cut off any excess rim.
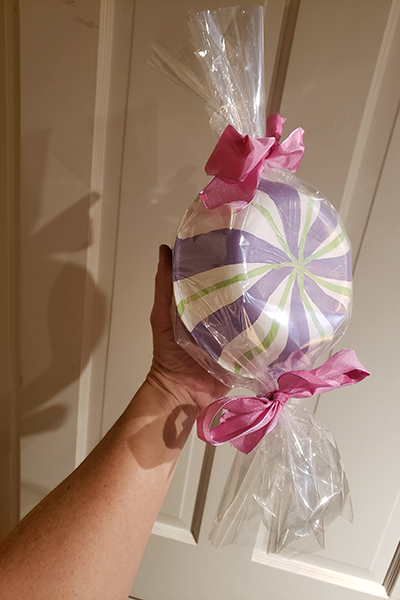
- Starting from a dot in the center of the bowl, paint stripes to the edge, gradually getting a little wider. The candy looks best using only one or two colors. If using a second color, draw stripes of different sizes in alternating colors. See photo as example.
- When dry, turn the candy over and paint the opposite side the same way. Try to line up the colored lines at the rim.
- When both sides are dry, cut an 18-inch piece of cellophane and wrap it around the candy as if wrapping a present, taping it down to hold in place.
- Twist the cellophane at each end and tie with ribbon. Trim excess cellophane or ribbon.
 .
.
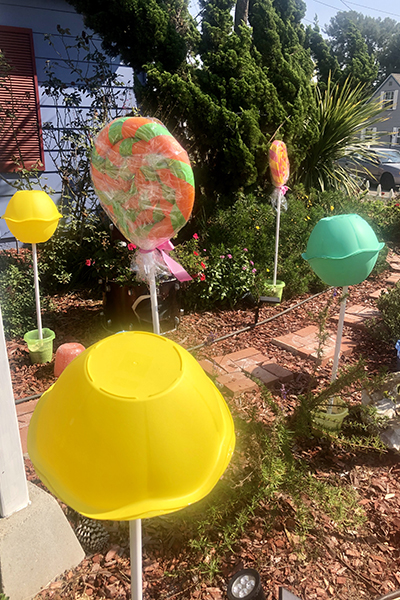
Giant Lollipop Yard Decorations
Supplies
- 2 bright, solid-color salad bowls (same color) for each lollipop
- White PVC pipe (3-5 feet long; one for each lollipop)
- Crazy glue (or similar strong adhesive)
- Utility knife
- Colorful sand pail (one for each lollipop)
Quikrete fast-drying cement mix
Option to sand pail and Quikrete: 24” piece of rebar for each lollipop
Directions
- Flip one bowl upside down and draw a circle the same diameter as the PVC pipe in the center of the bowl. Heat the utility knife over a flame and cut out the hole.
- Glue the rims of two matching bowls together with crazy glue. Apply crazy glue to one end of the PVC pipe and slip through the hole until it touches the inside of the top bowl. Dry upside down for 12 hours.
- Have someone hold the PVC pipe centered in a sand pail. Pour Quikrete into the pail, add water as specified and allow to dry. This will give a stable support for the lollipop for any event (indoors or outdoors).
- Optional: Skip the pail and cement method, and *drive a ½-inch diameter, 24-inch piece of rebar into your yard (push down 8 inches). Slip the PVC lollipop stem over the top.
*Before driving anything into your yard, know where power, water, sewer and irrigation lines run!
In December 2020 San Diegans visited a “real” Candy Land house at the corner of Mt. Albertine and Mt. Aguilar in Clairemont (San Diego). Swing by to see rotating themes throughout the year!
Emily Dolton is a local artist and mom of two boys.
______________


